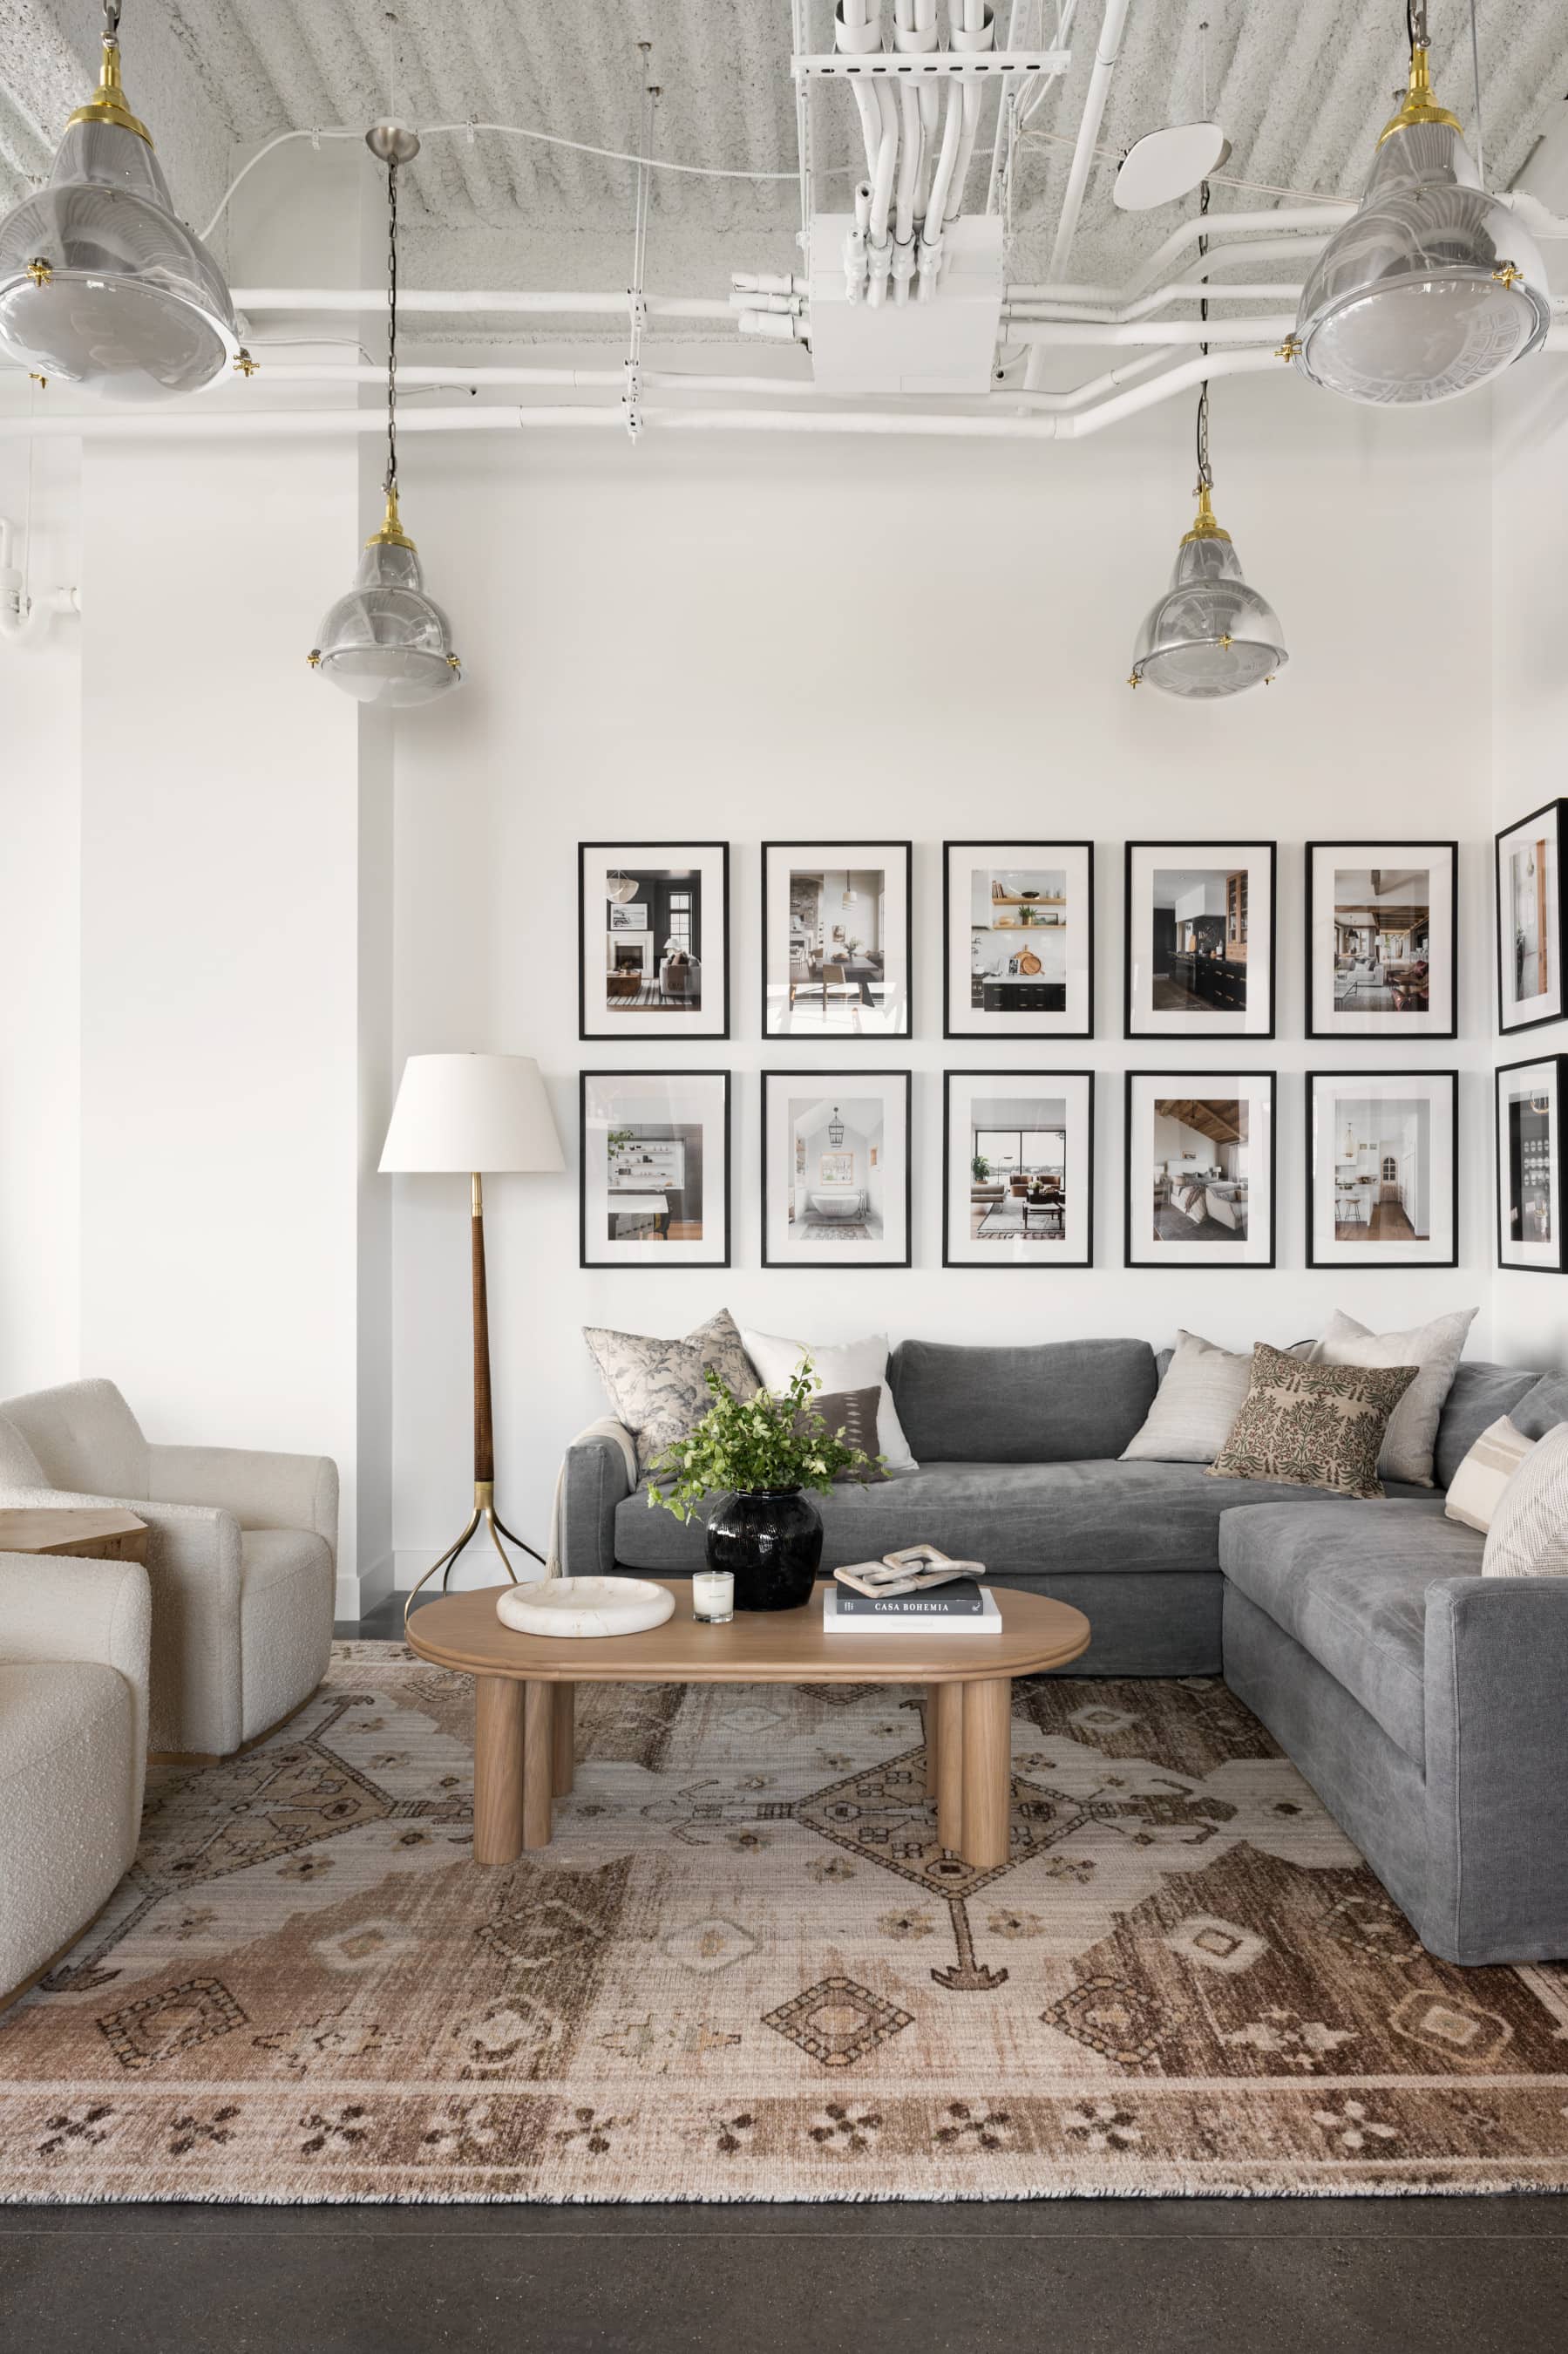
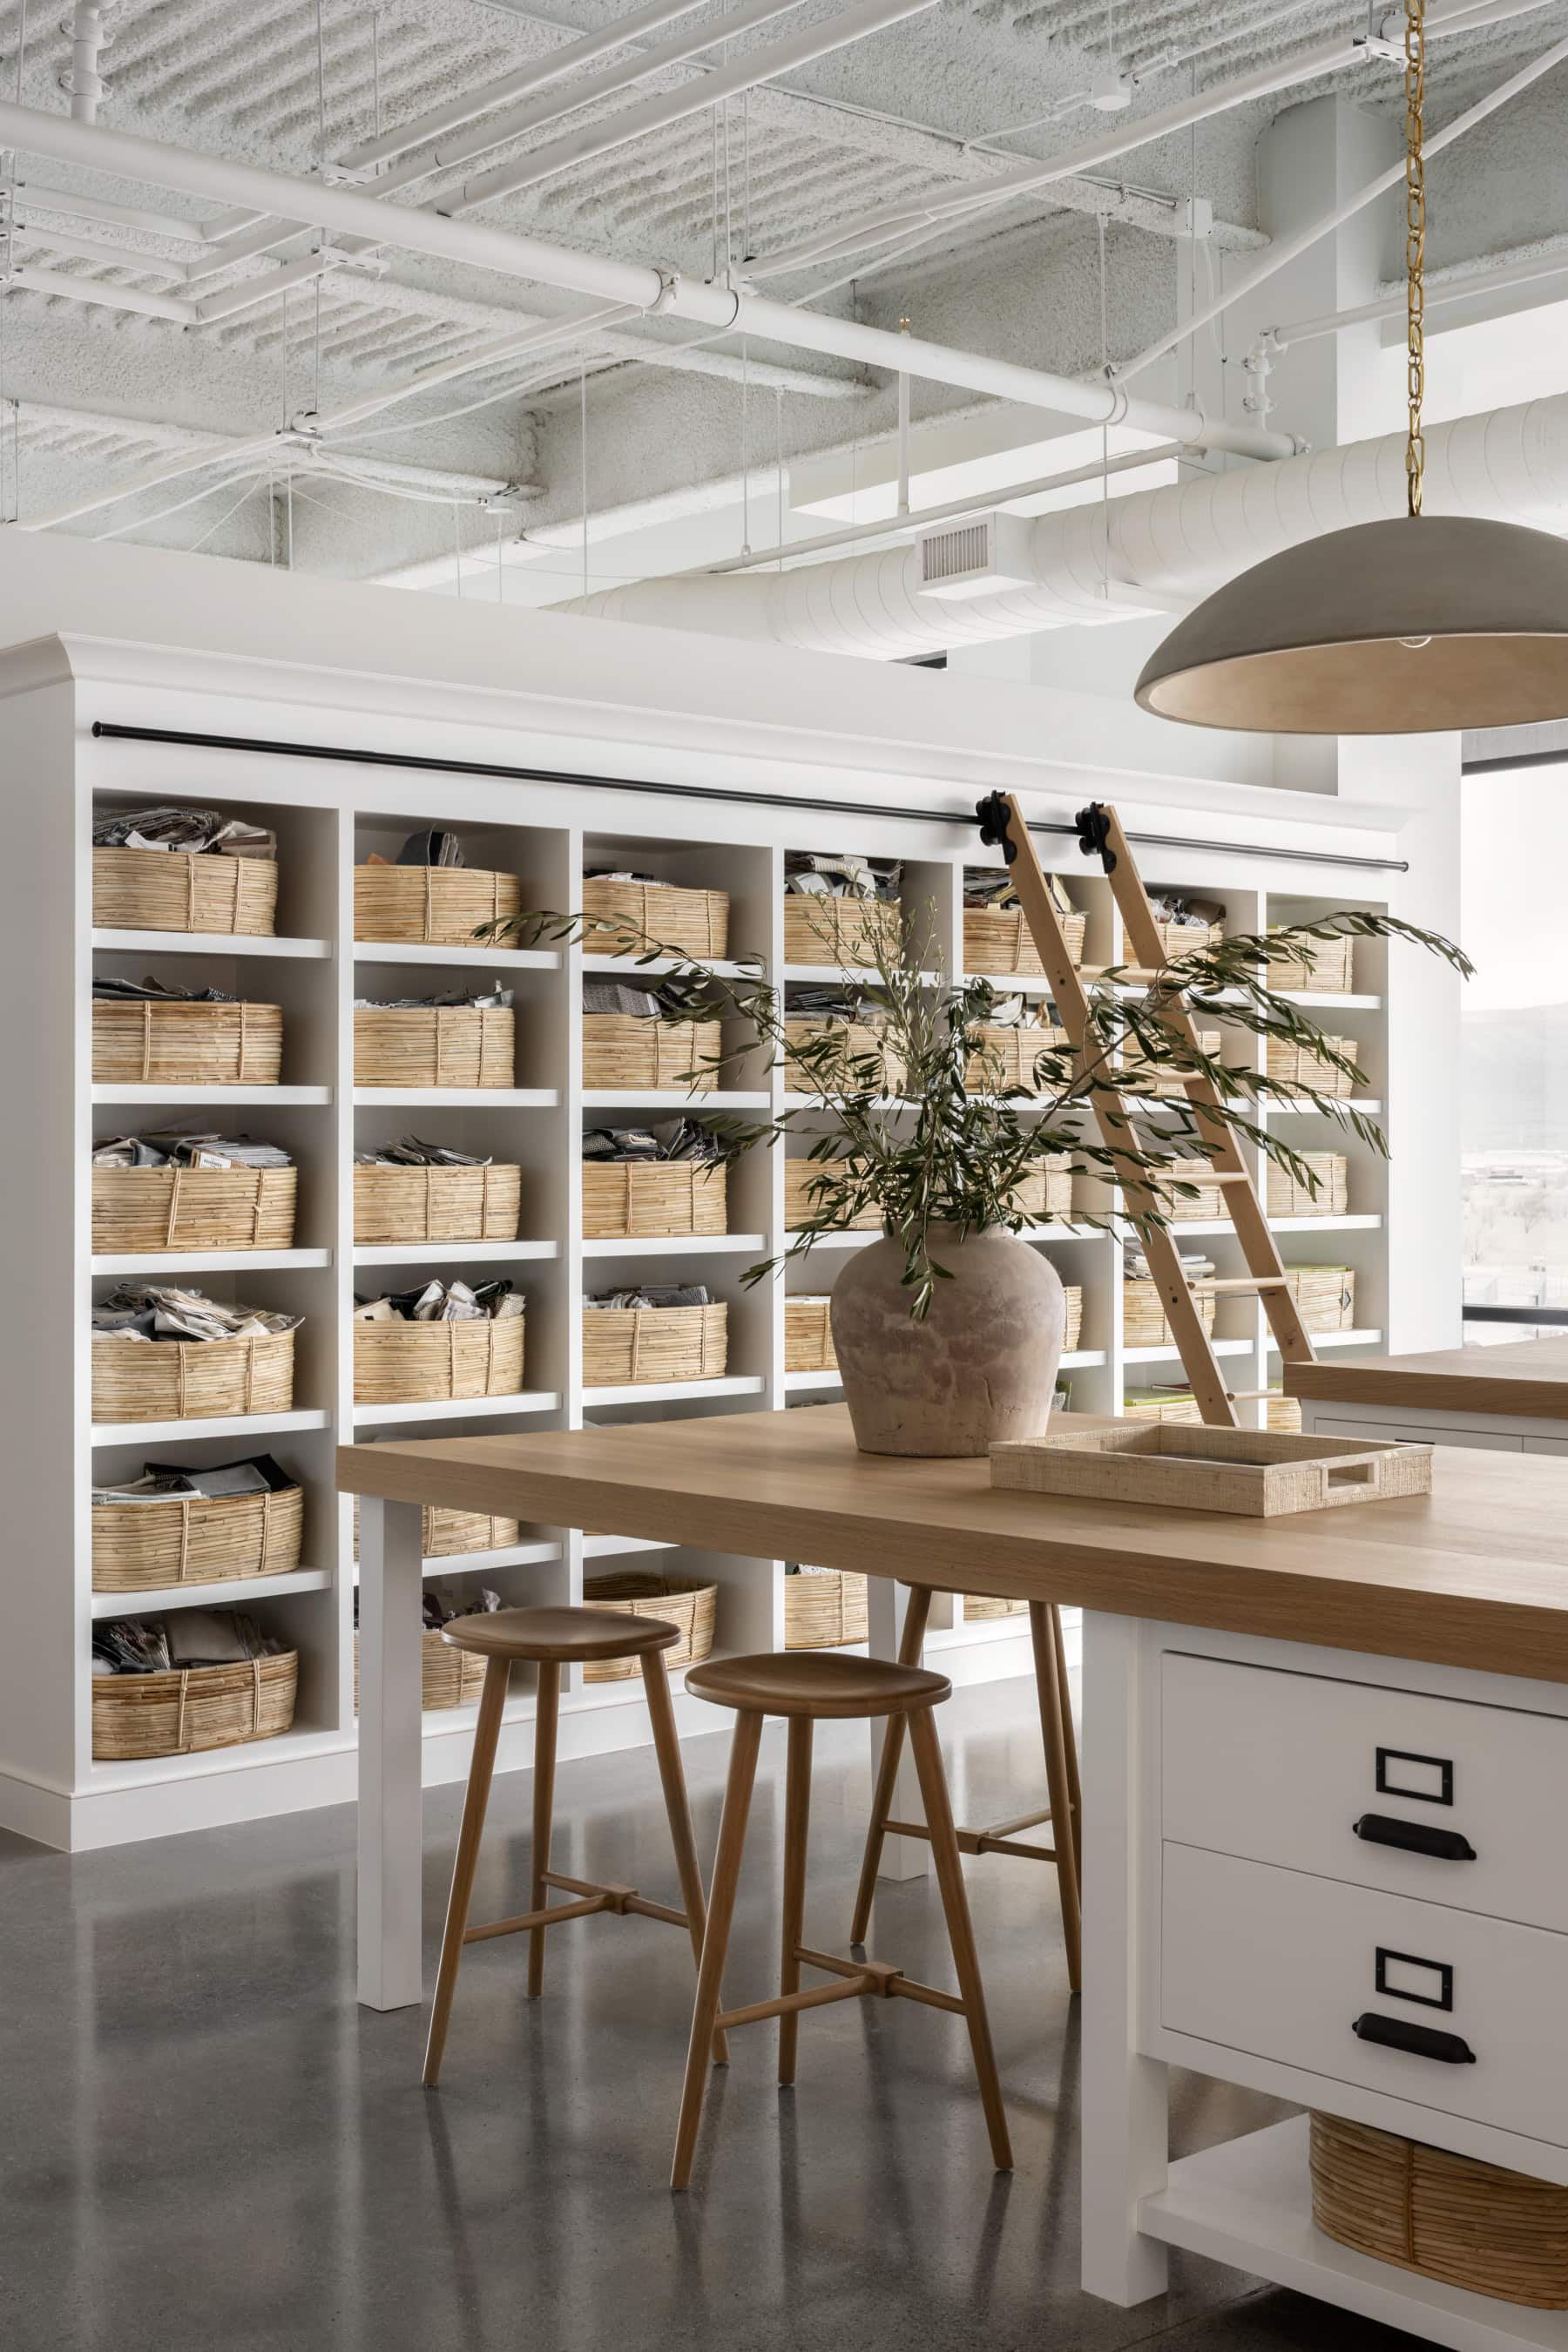
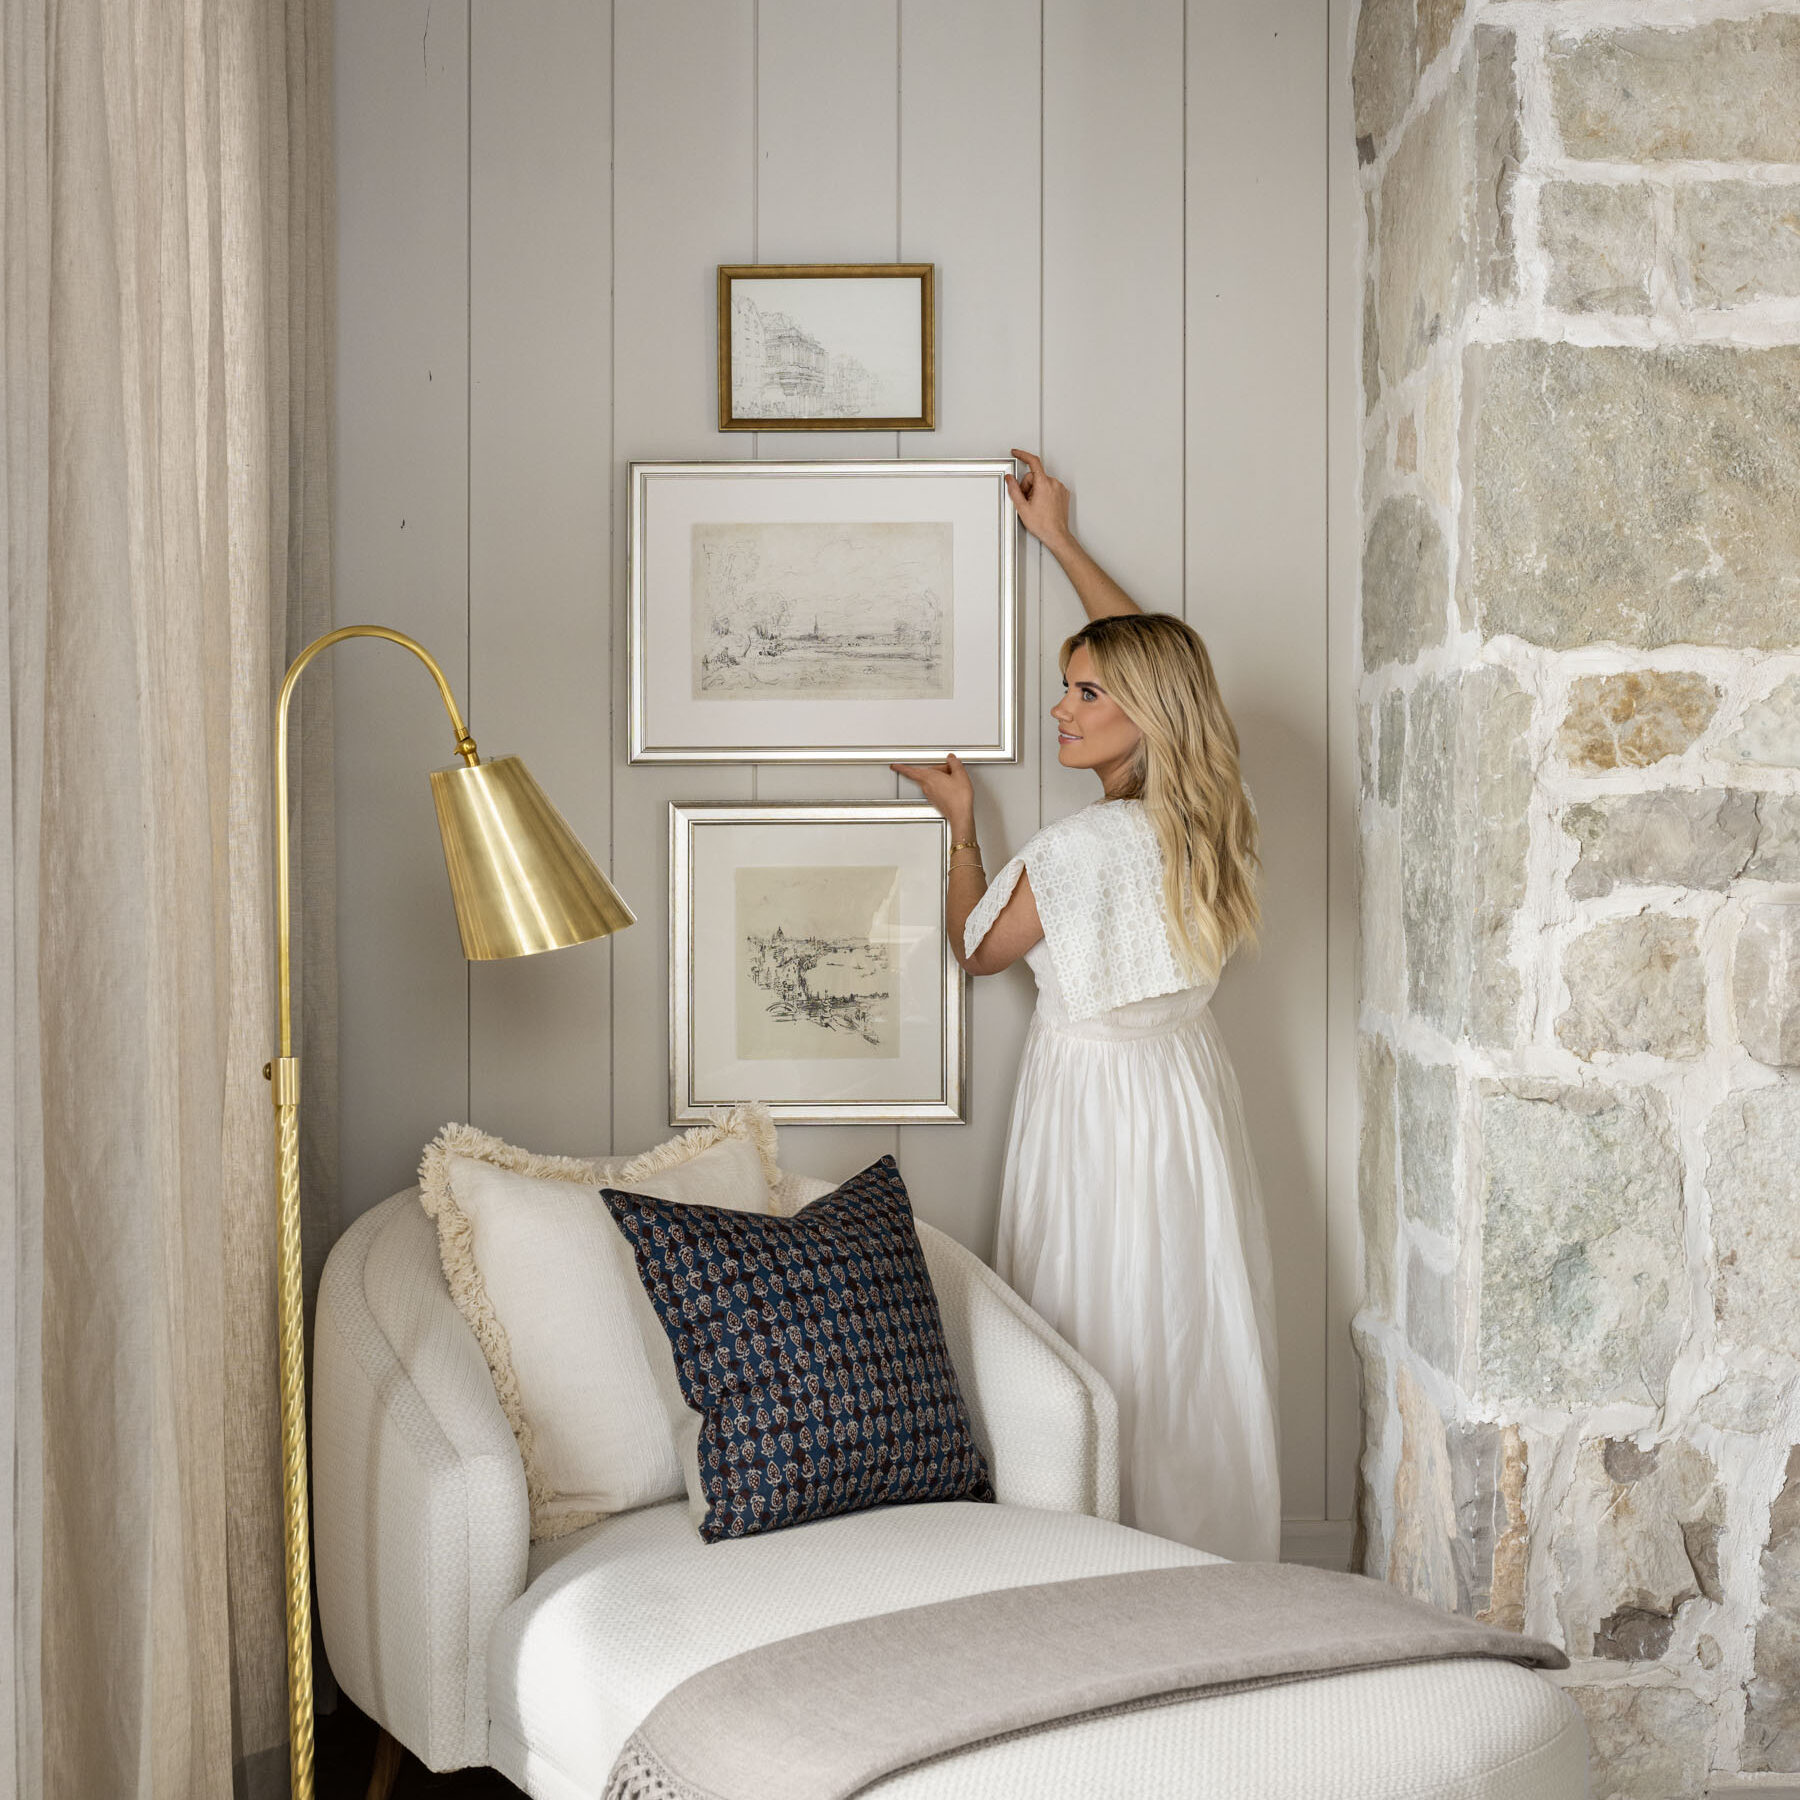
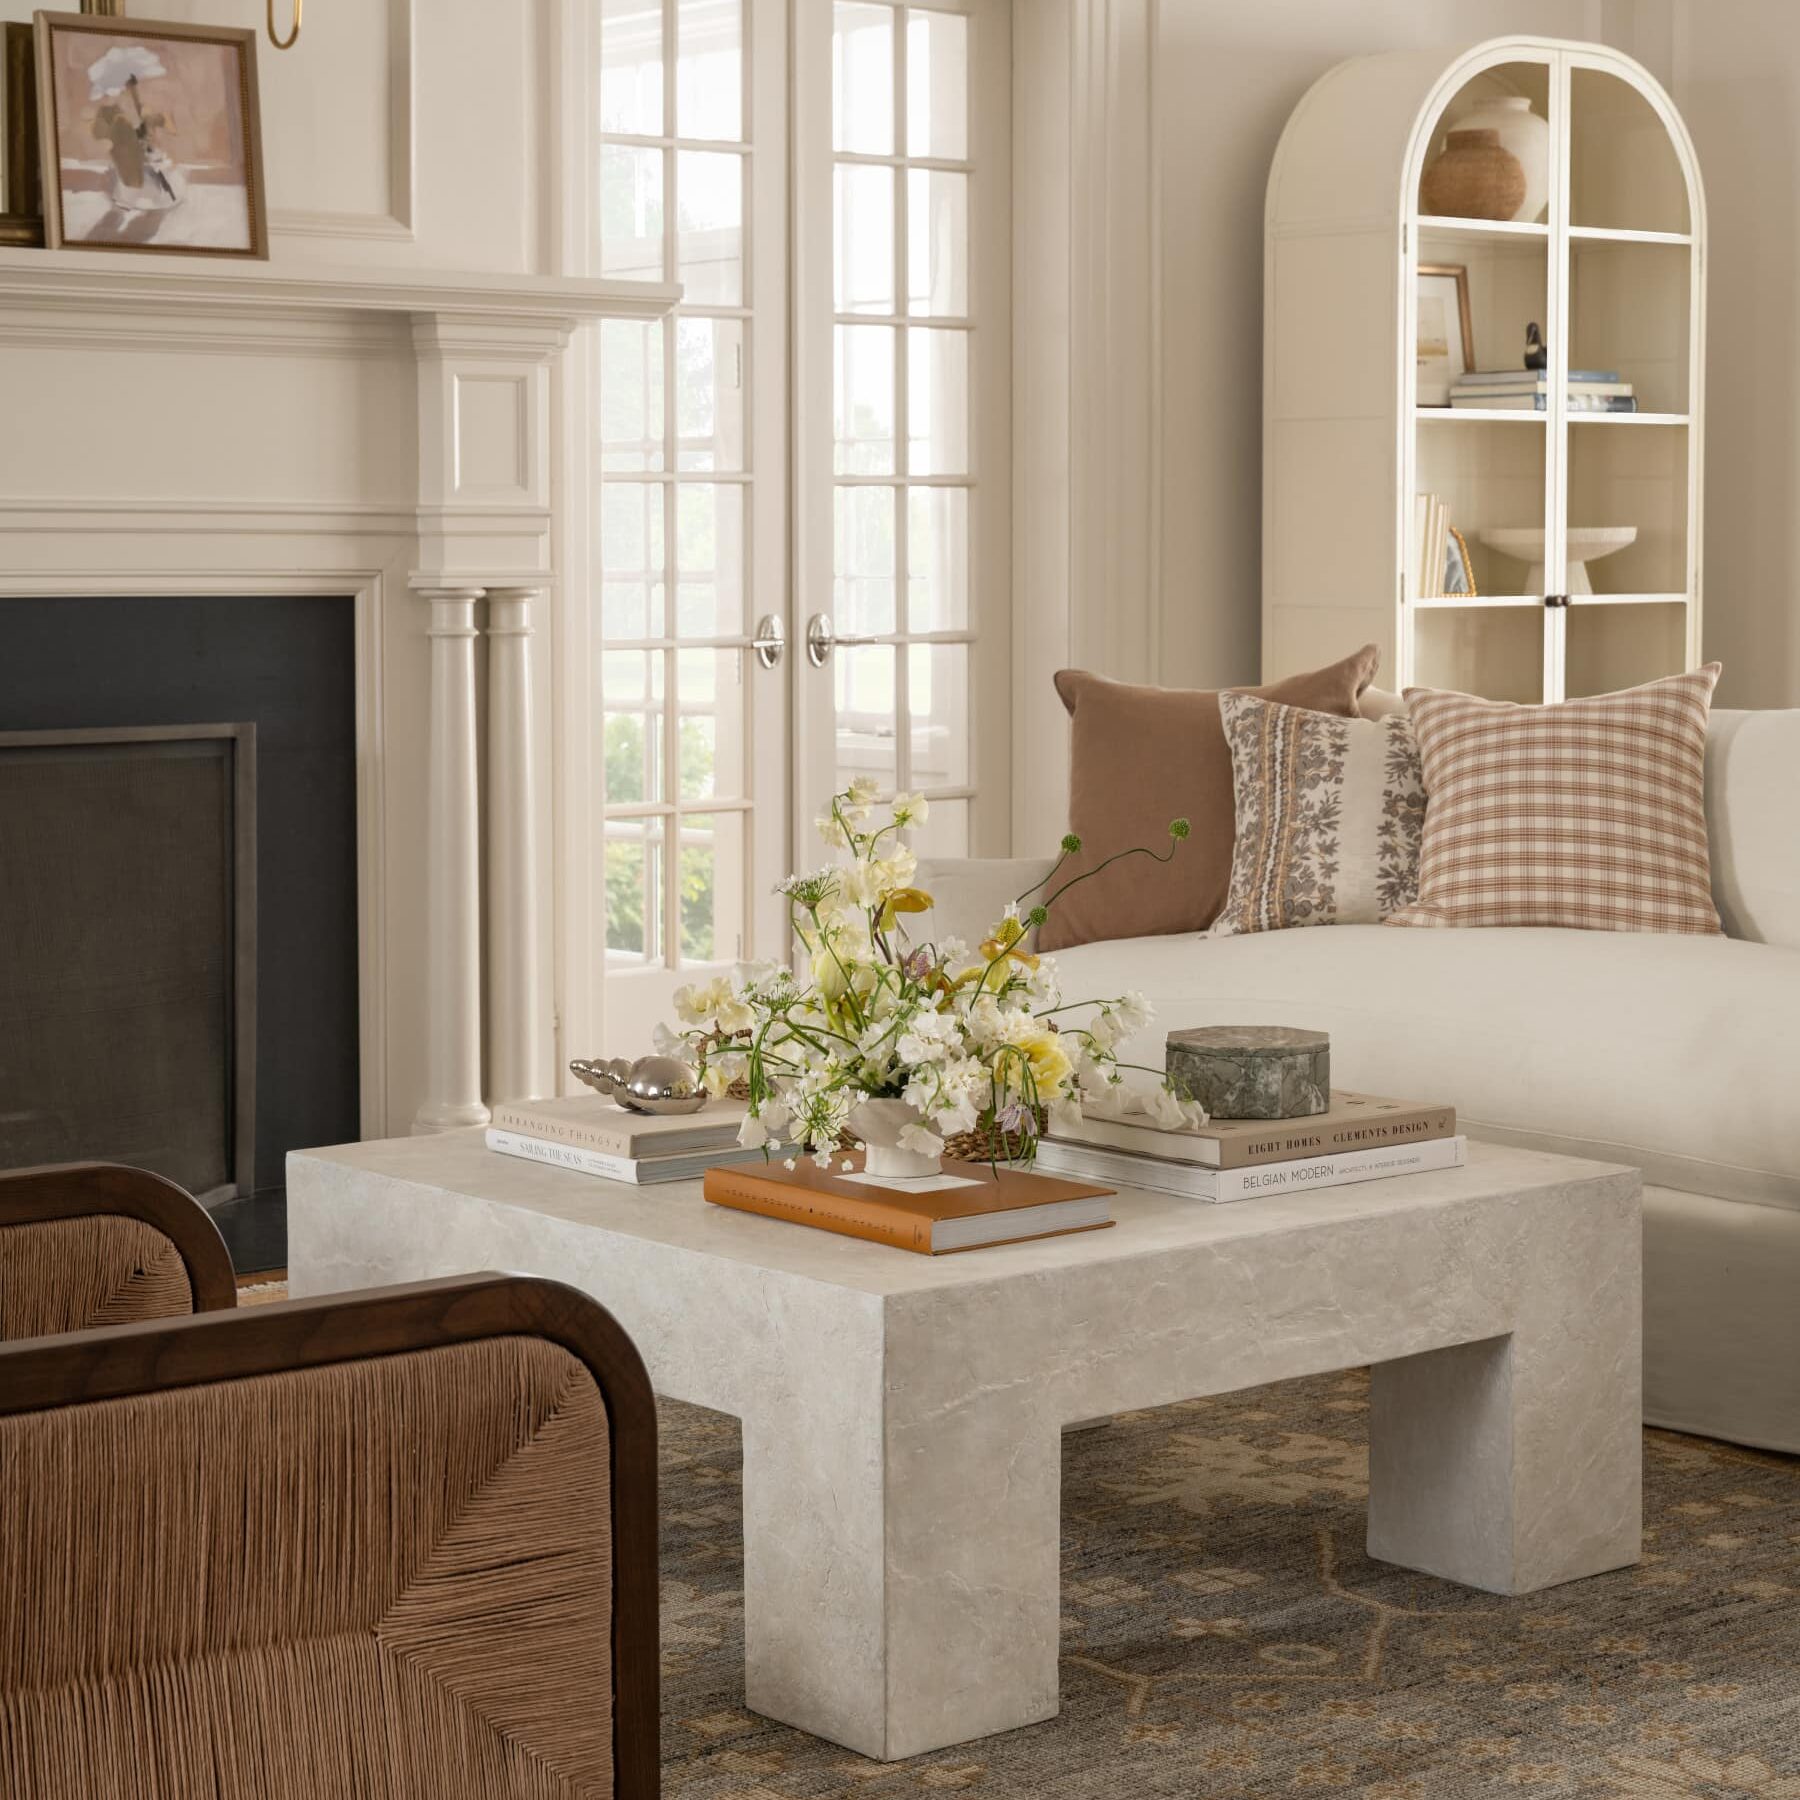
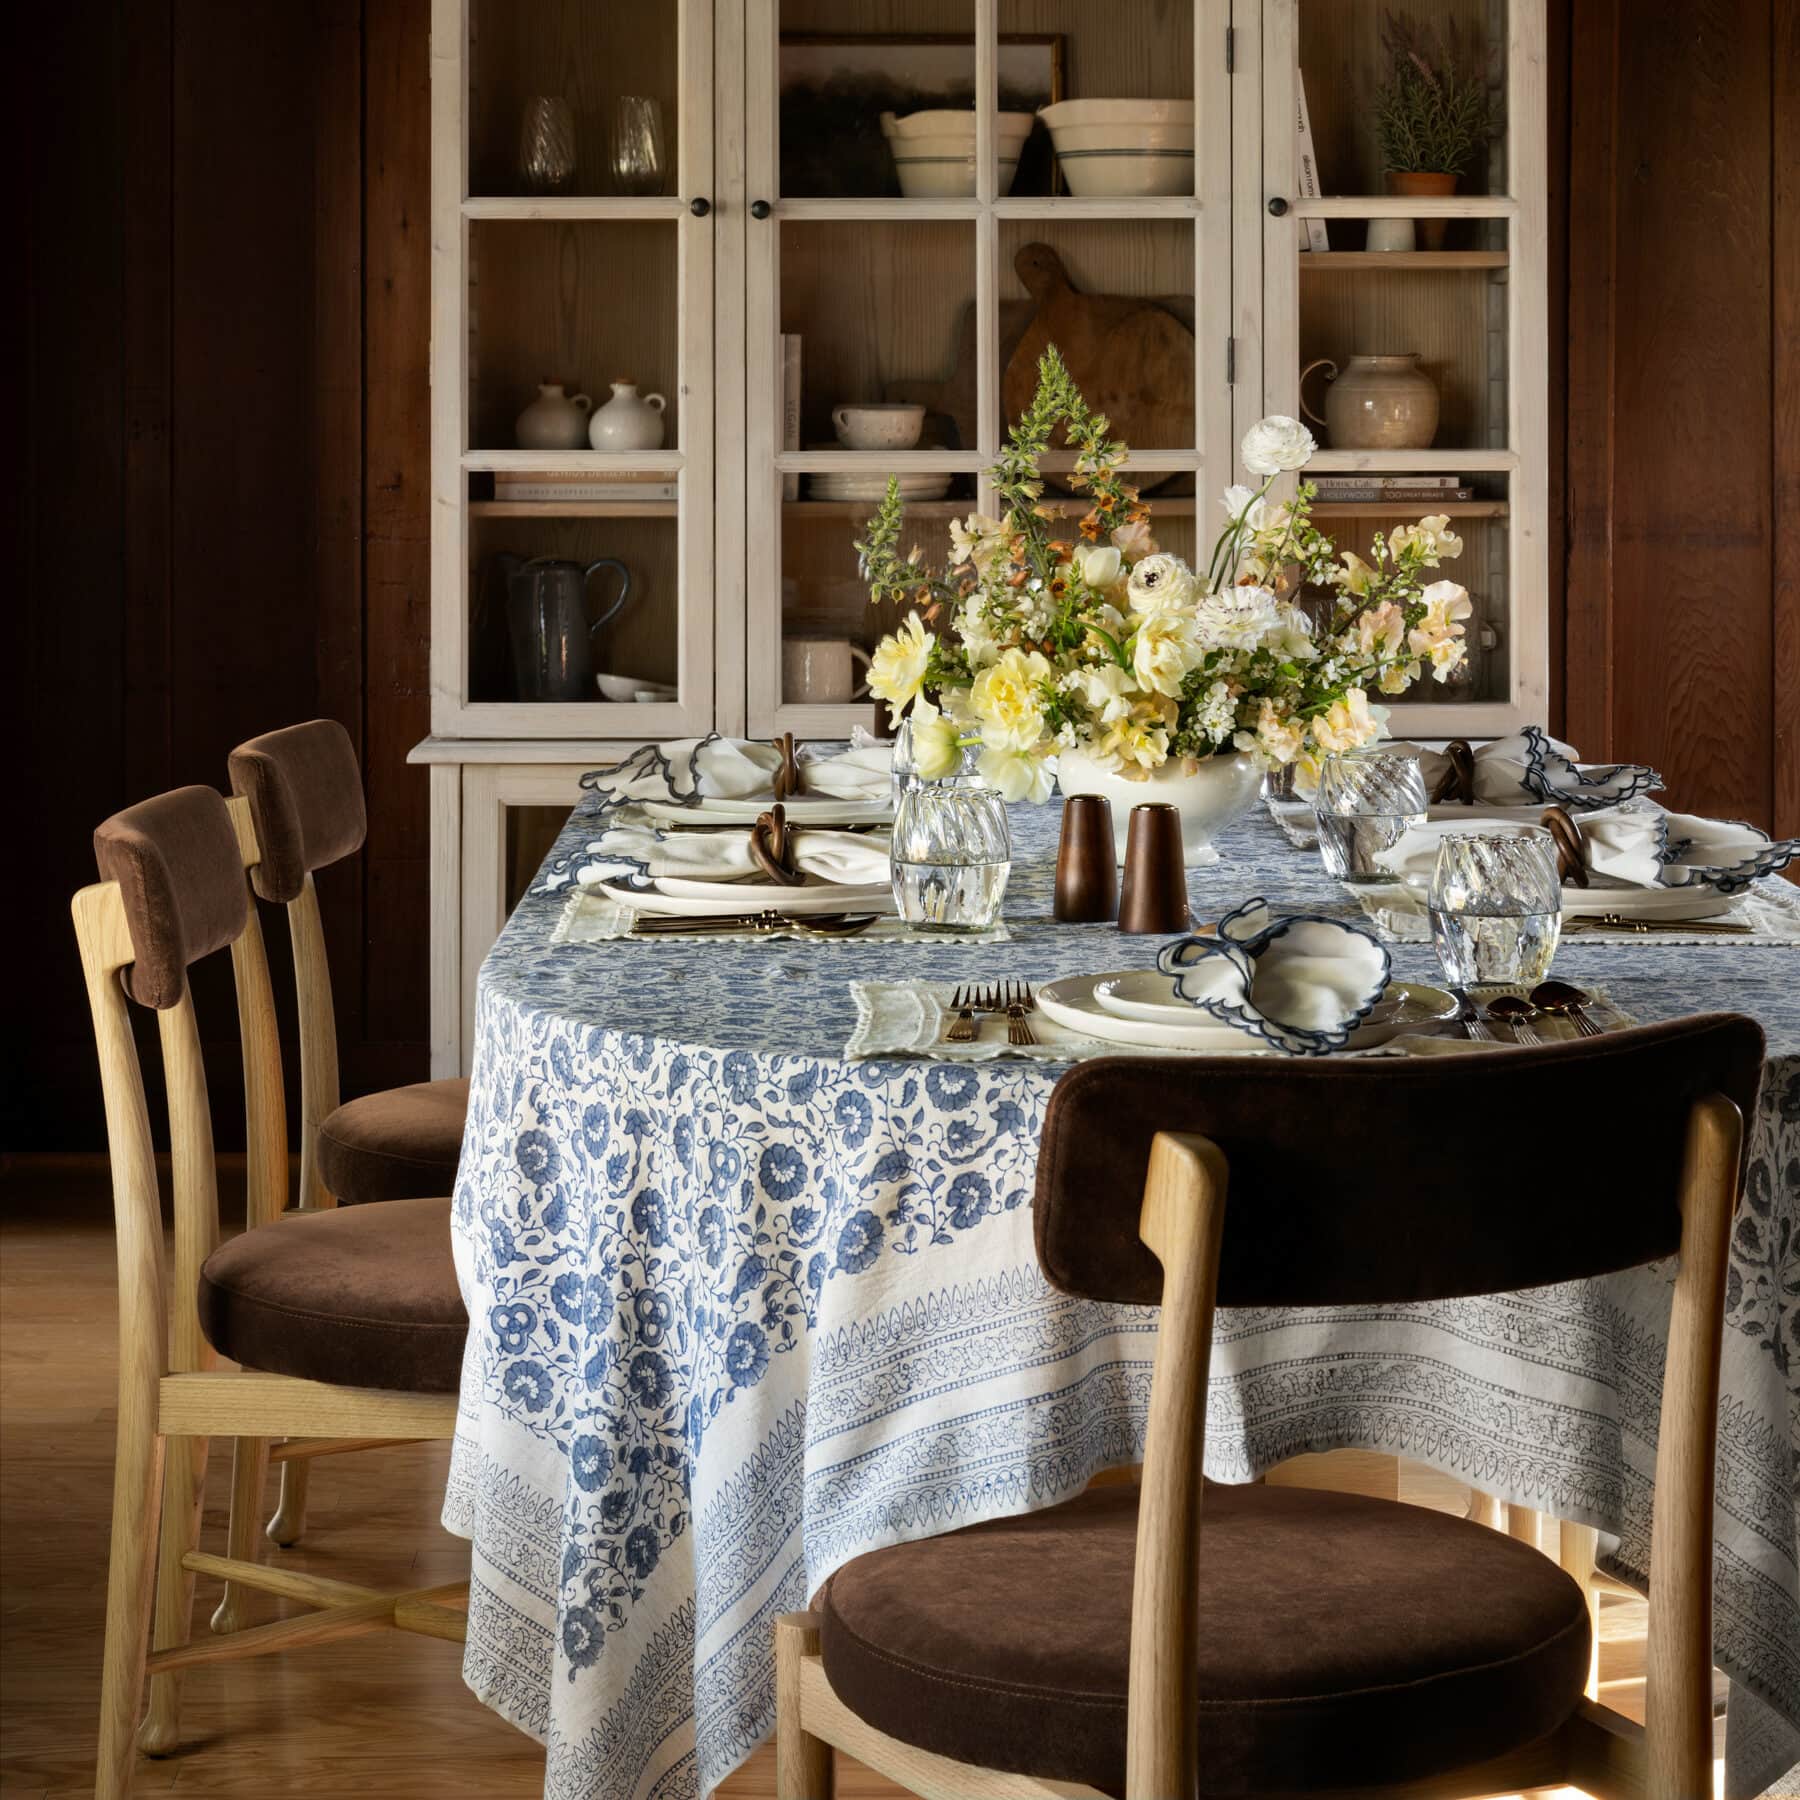
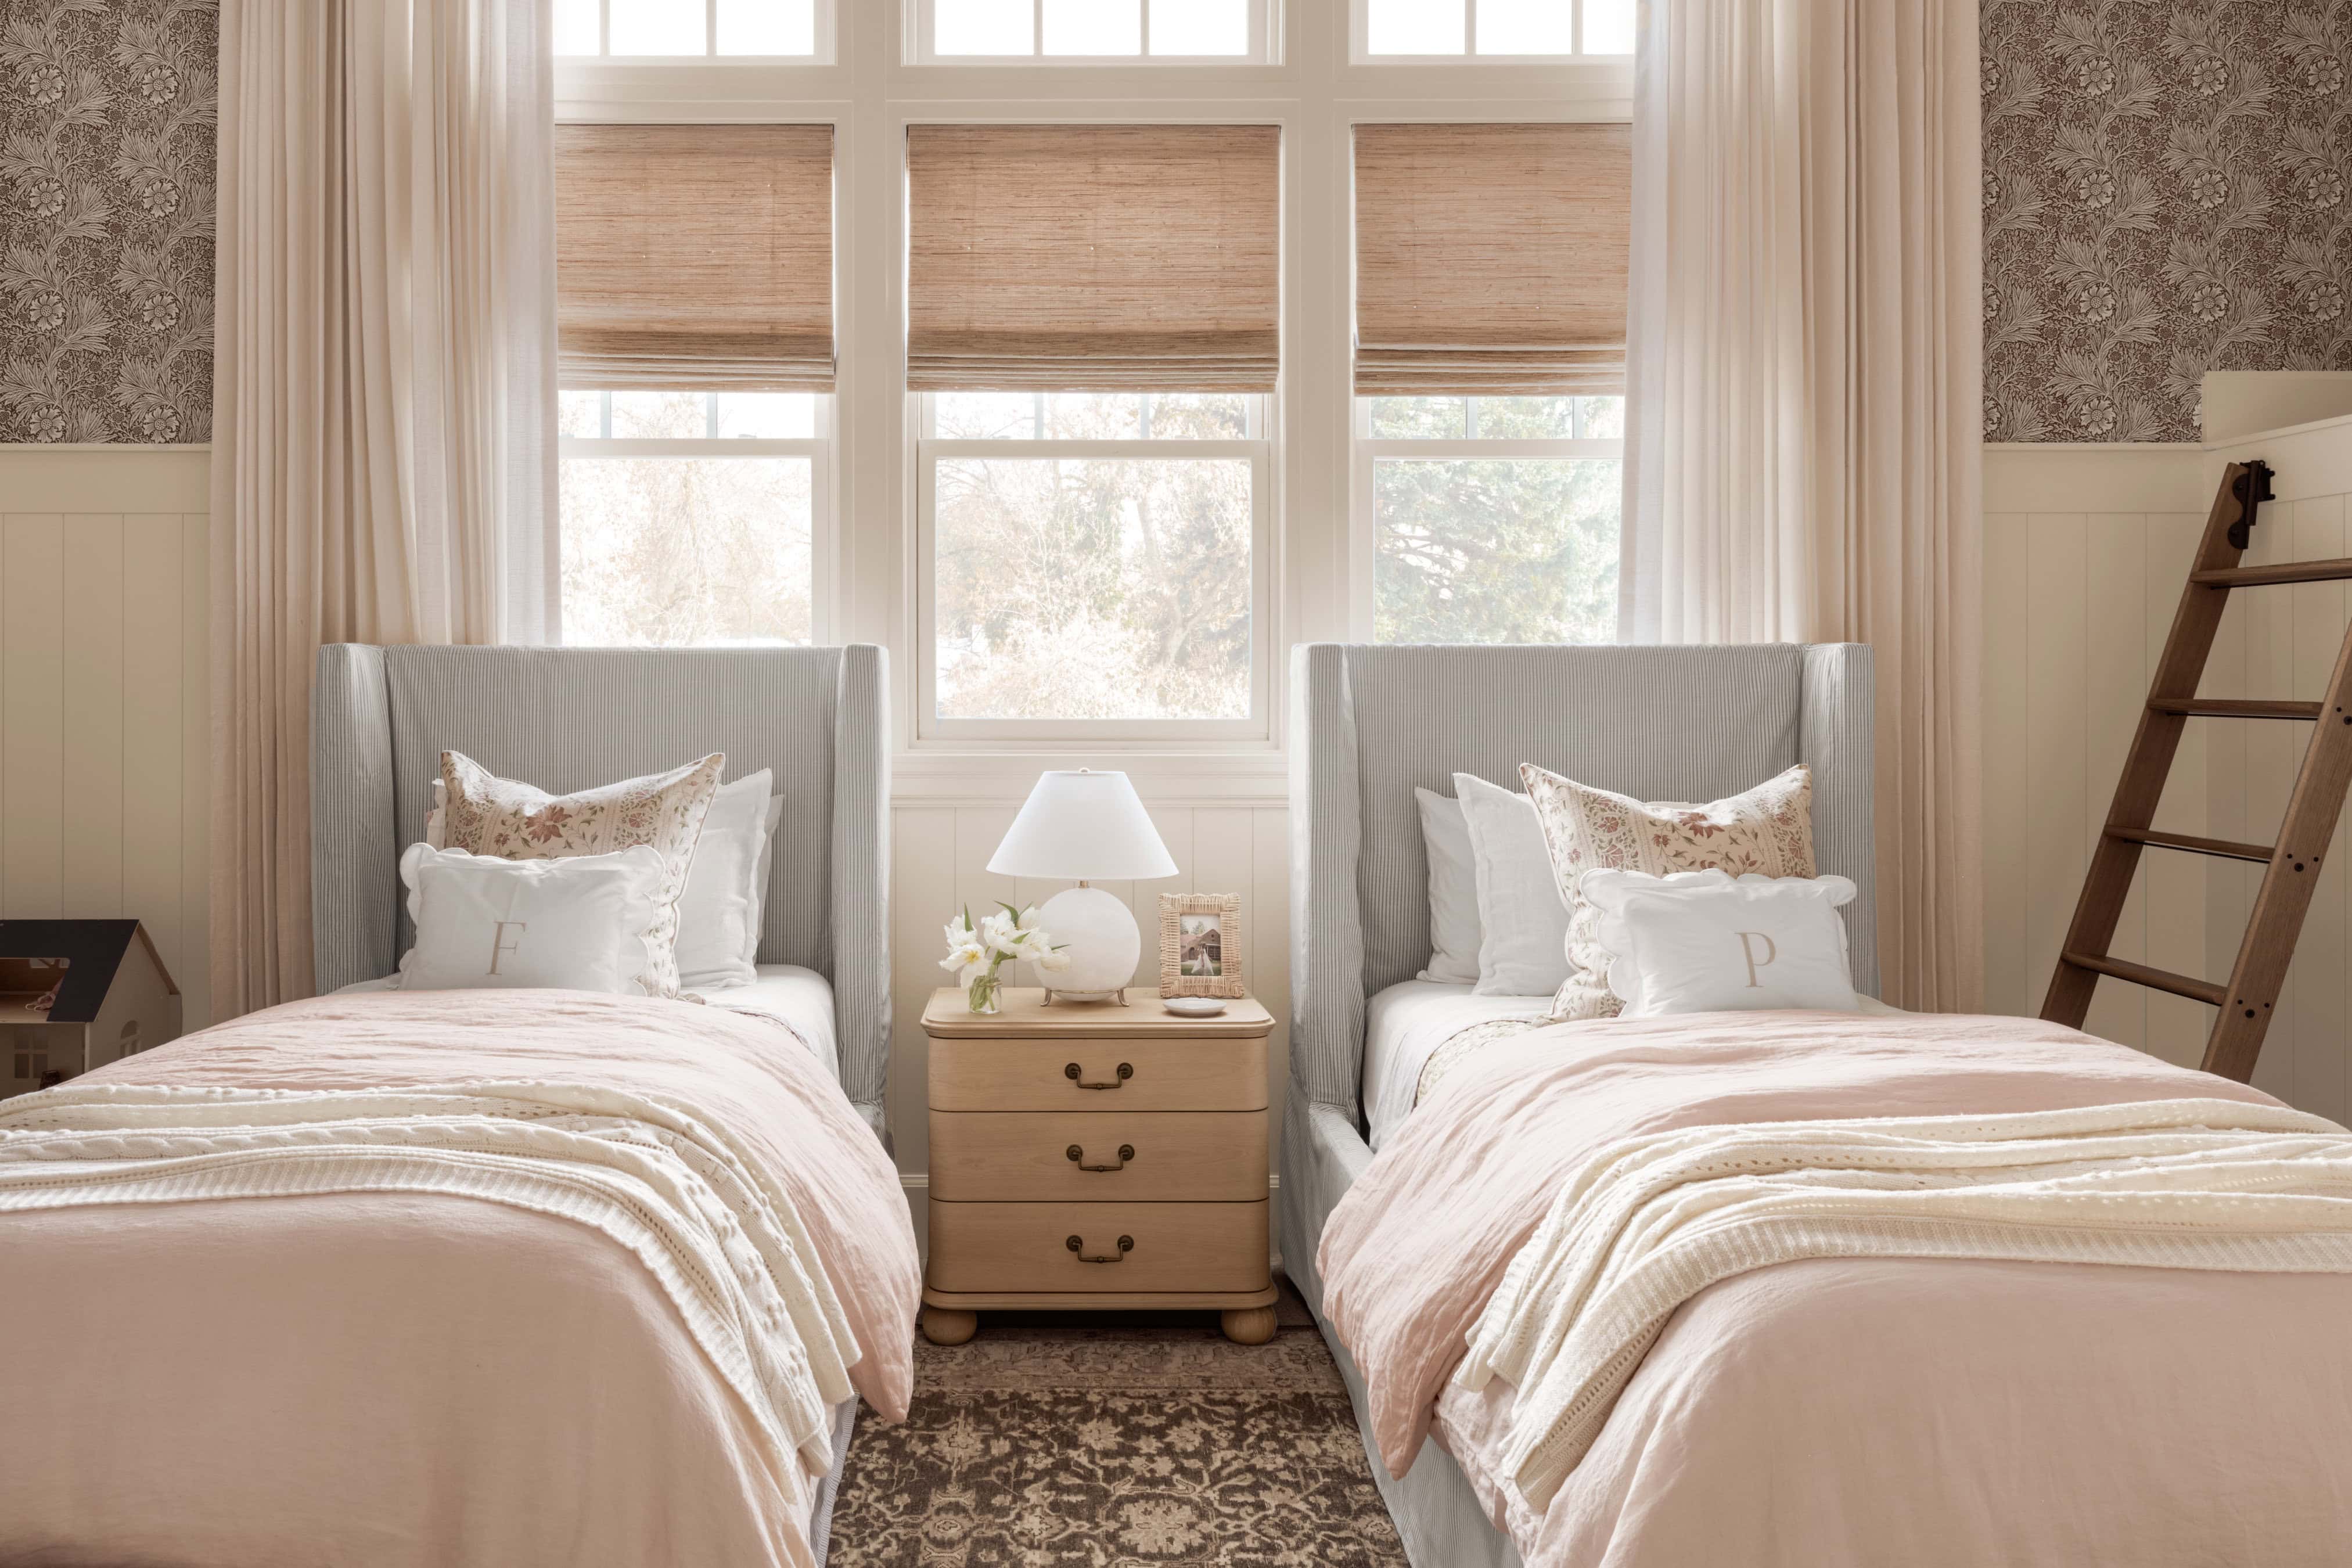
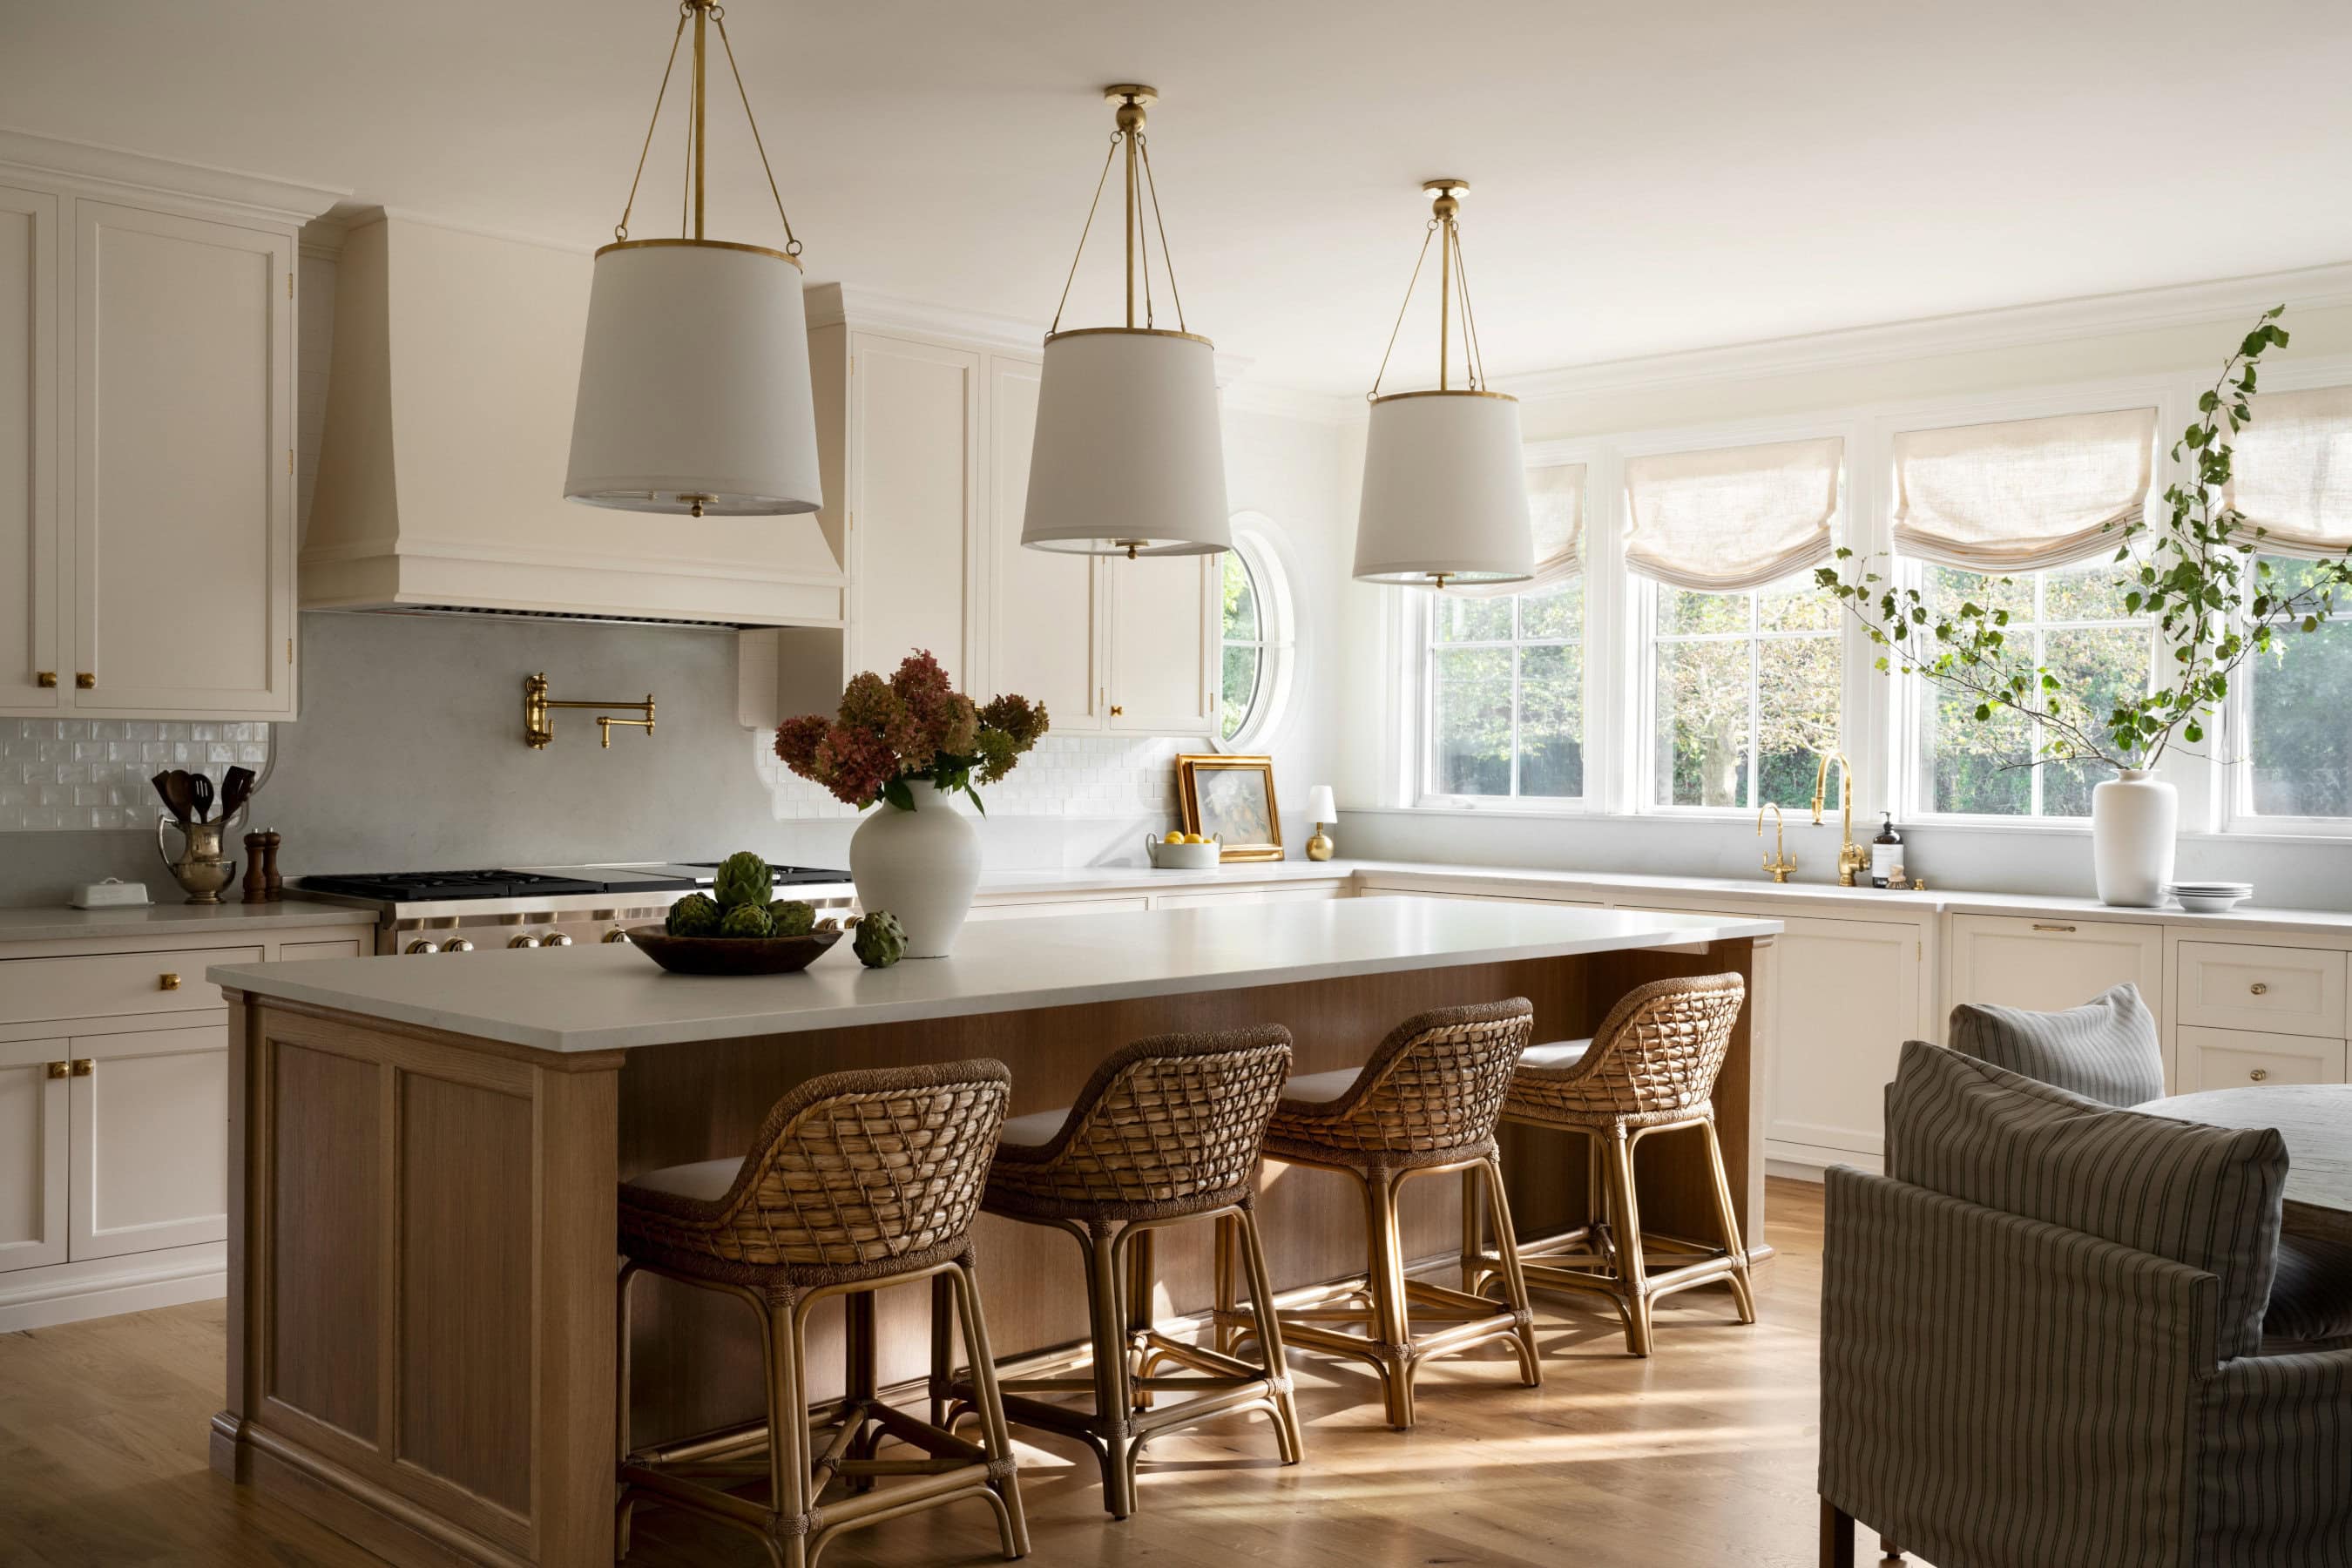
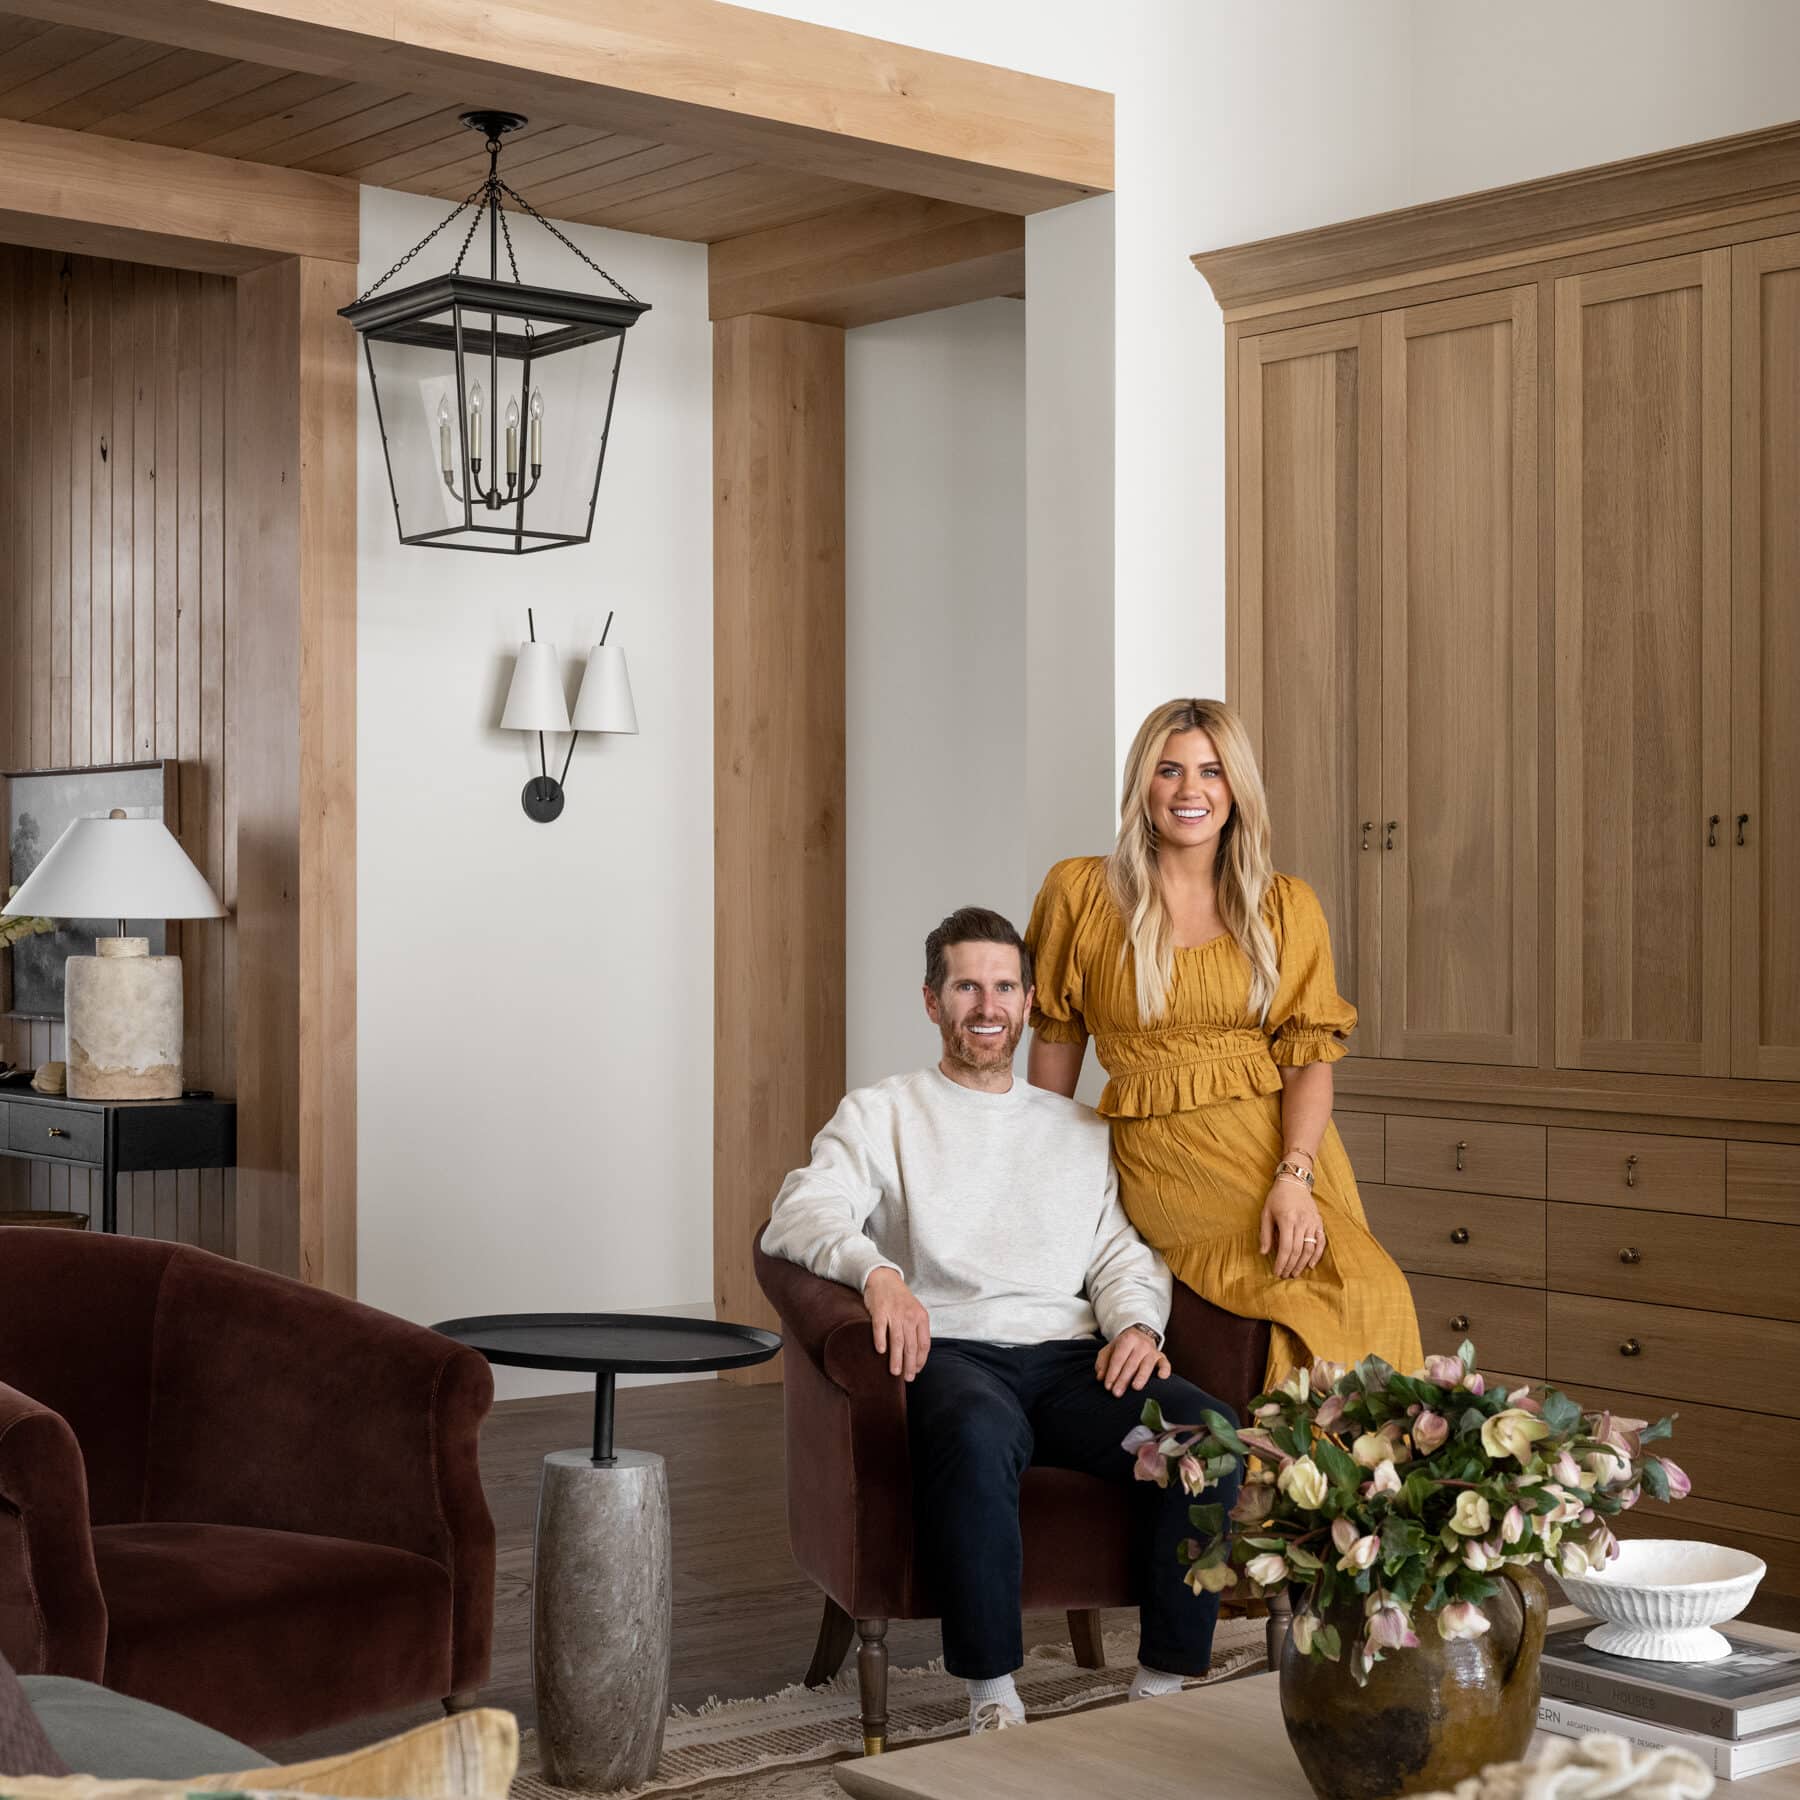
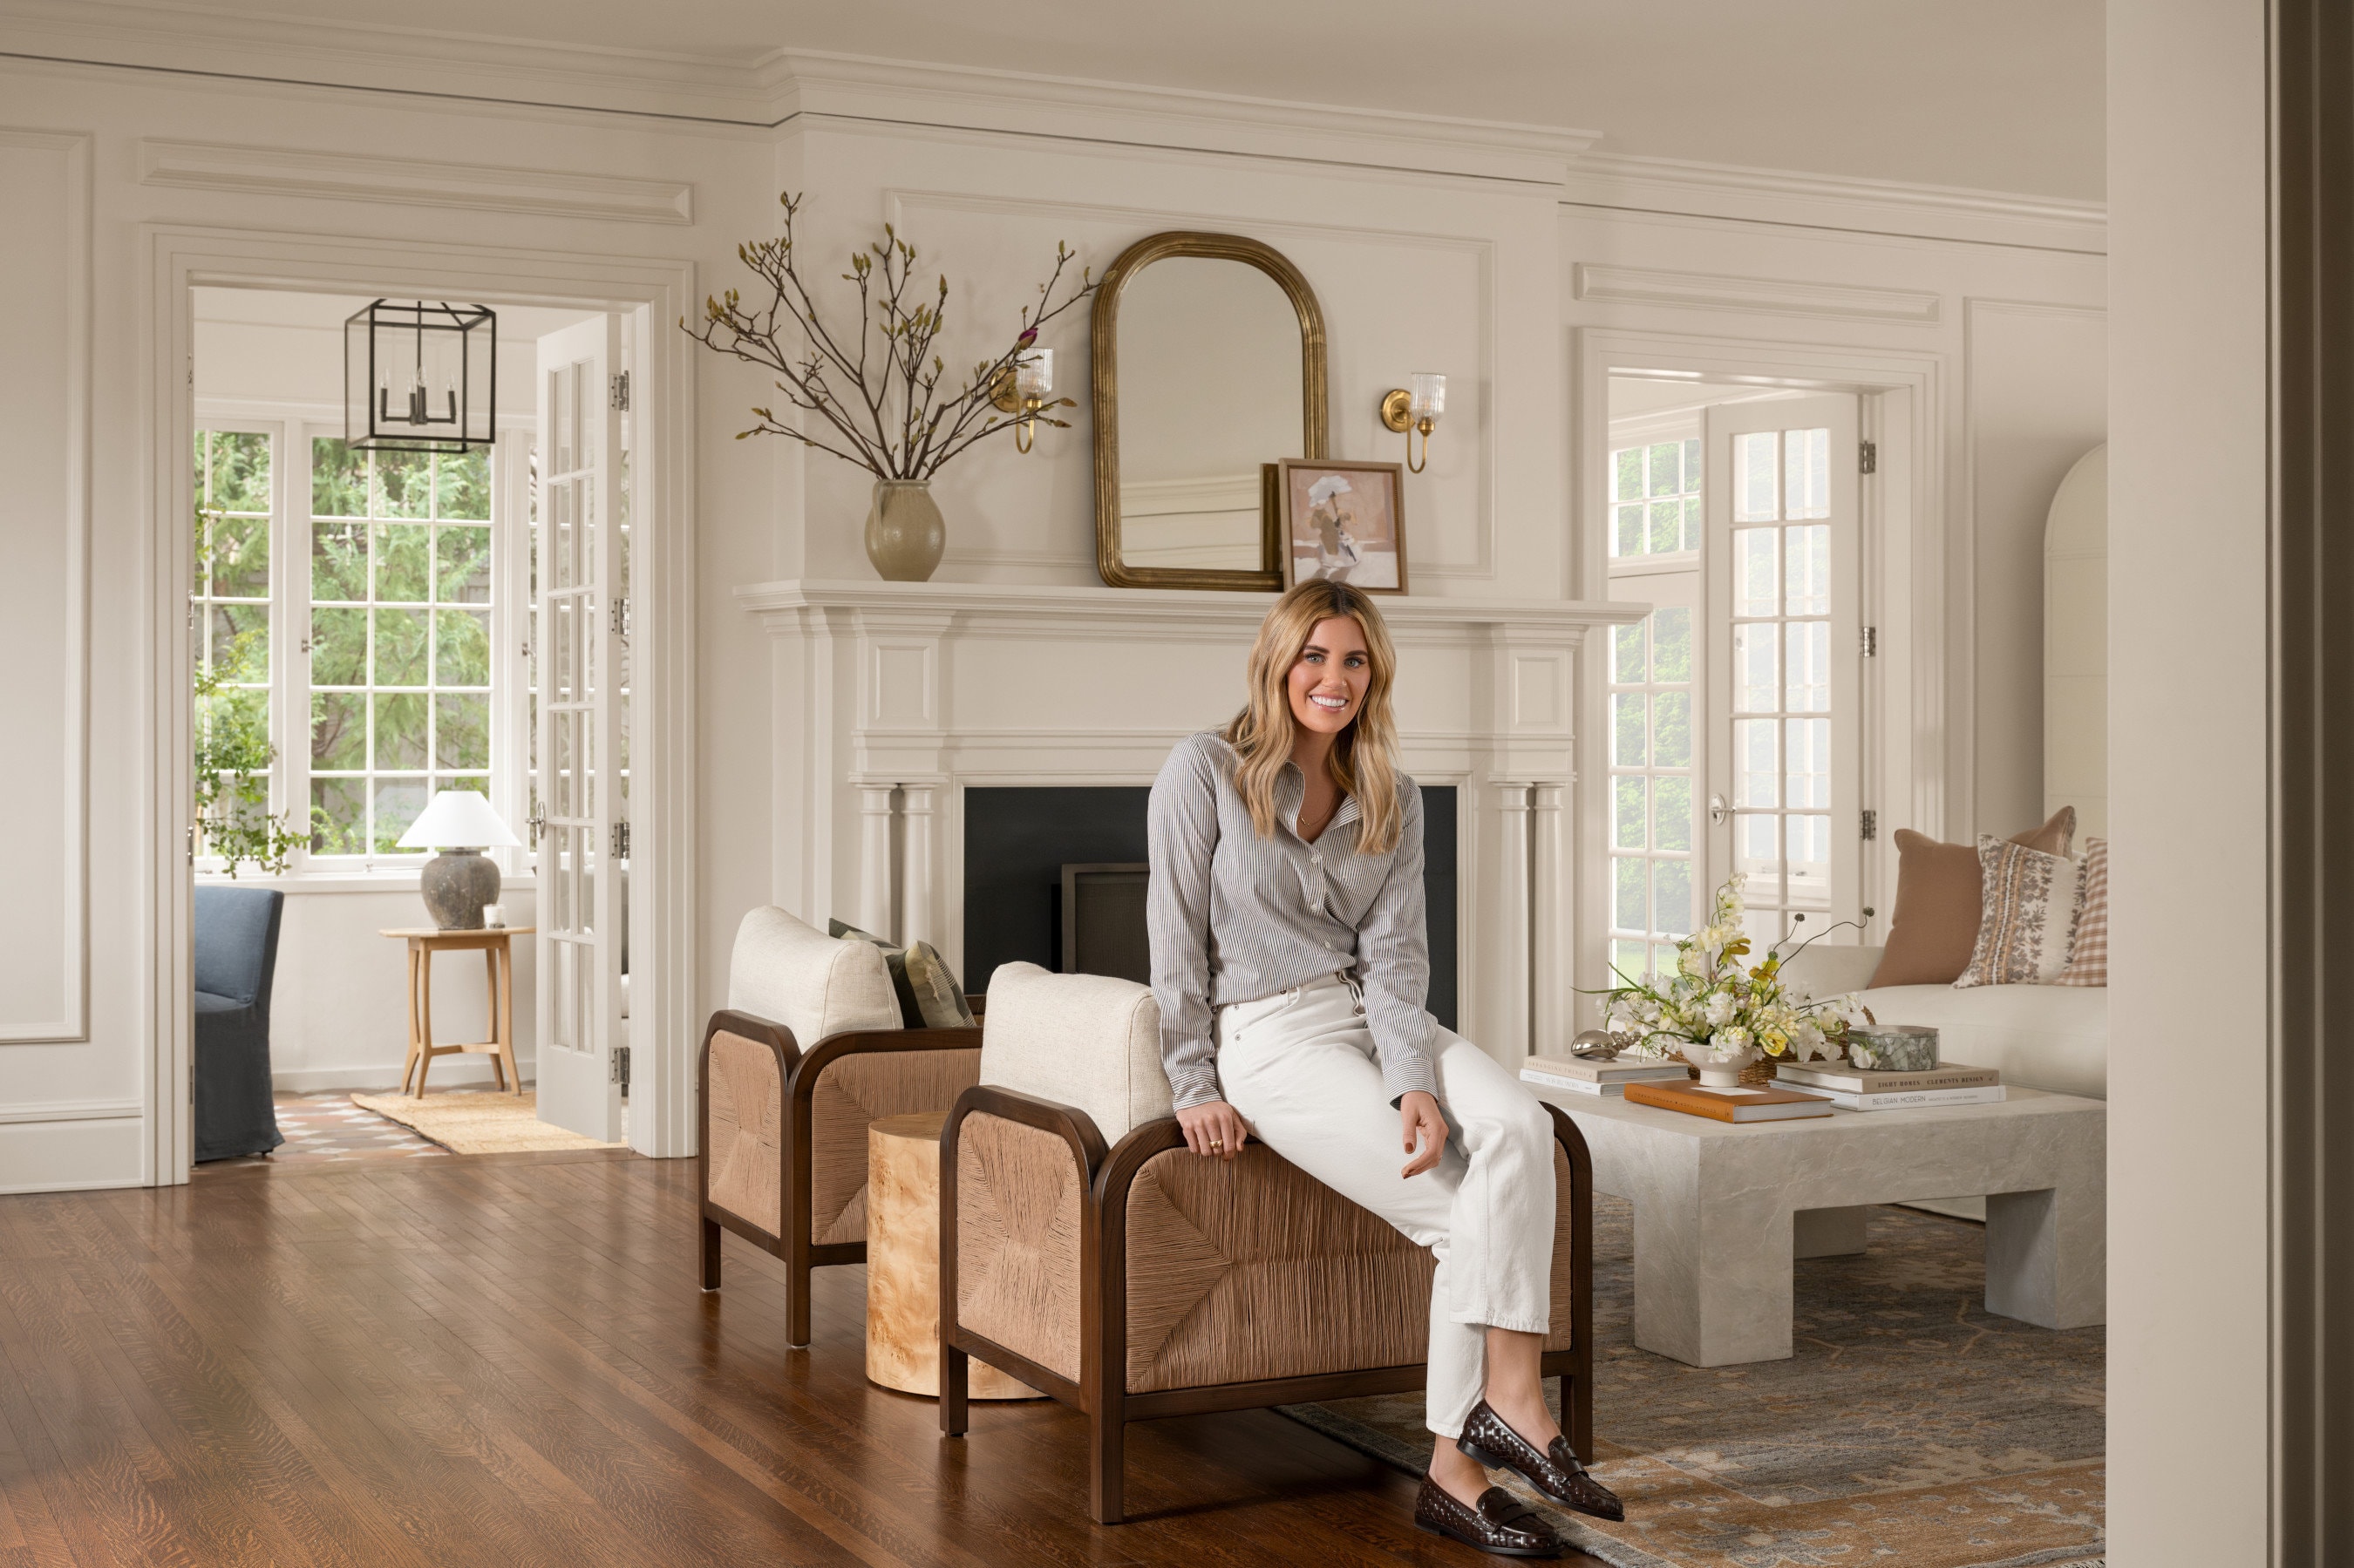
Personal Experience: How to Use the Planner 5D’s AR Feature

The Planner 5D app for iPhone has recently received a new feature based on AR technologies.

Personal Experience: How to Use the Planner 5D’s AR Feature

The Planner 5D app for iPhone has recently received a new feature based on AR technologies. It helps to create 3D interior design projects and place the blueprint of the room or apartment within a customizable virtual space. As a result, a user can literally walk through his or her own future home and try out its design in real-time. Sounds too good to be true? Let’s have a closer look under the hood.

My name is Dasha. I have recently moved to a studio and want to arrange the interior properly. I used the AR feature to create a design project that would meet my interior needs and I want to share my experience.

Step 1

First of all, I consider all required room dimensions and parameters when creating a project. Besides, I select interior and décor objects along with furniture available in different catalogs. You are free to use ready-to-use solutions and plans to see how the AR feature works. This time, I opted for a project of a small loft-style studio to understand how to properly arrange furniture in a limited space.

Personal Experience: How to Use the Planner 5D’s AR Feature - Articles about Apartments 1 by Софья Гук image

Step 2

Using 3D mode, I managed to overview my space and realize how to turn a small apartment into a functional living environment with everything I could need. For sure, I required a fully functional bedroom with a kitchen and a tiny living room where I would spend time with friends.

Step 3

When I figured out the process of furniture arrangement, space zoning to sleep, work, or relax, and how to select finishing materials, I decided to have a closer look at my space from the inside. All I needed is to open the Planner 5D app and open a saved loft-style studio project to implement the AR feature. It is quite simple to find. You can see the AR tool in the upper right menu with a selection of view modes. Choose the icon located under the 3D mode option.

The app will offer you to choose a horizontal surface where your project will be placed. When you find a matching surface, click on the “+” sign to see the ready-to-use project on the screen.

Now, you are free to open it whenever there is an Internet connection. For instance, I managed to try out the project on a small table in the furniture store. It helped me to explain to the consultant how and where I want my bed and kitchen to be placed. What’s more, it was quite easy for me and the specialist to choose paintings from the gallery that perfectly matched the interior. The process was fast and simple, as I did not have to explain the style and interior concept as well as how finishing materials would look like. All we had to do was to open the app with the 3D project and walk through the virtual interior in real life while selecting the best spots to place paintings.

As soon as I started using the app, I realized what was missing in my studio interior design. You may also follow these three simple steps to create a home that reflects your personality.

Click here to try Planner 5D’s AR technology.

Sign up for more like this.